Step 1: Setting up Promotion Plan
- Click on Promotion Pricing -> Add New
- Set up your Plan
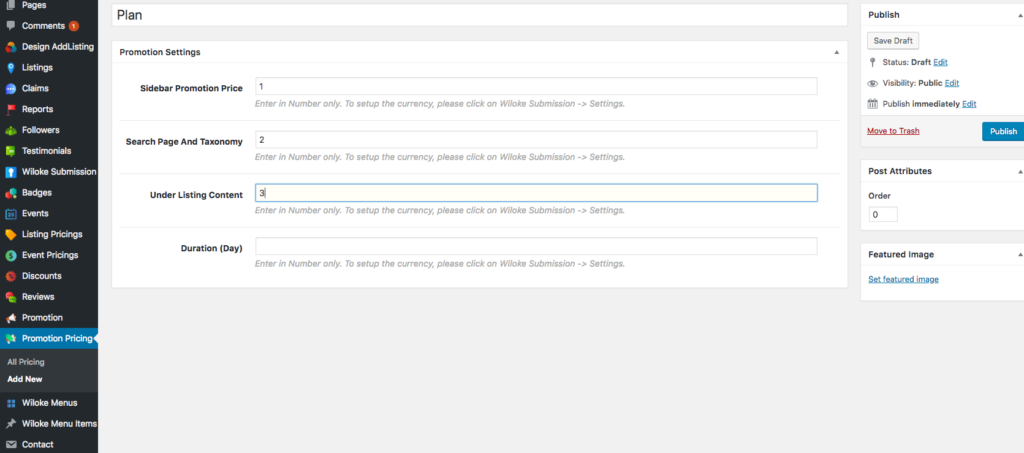
- Click Publish
Step 2: Creating Promotion Template
- Click on Pages -> Add New -> Enter in the Page Title
- Set this page to Promotion template
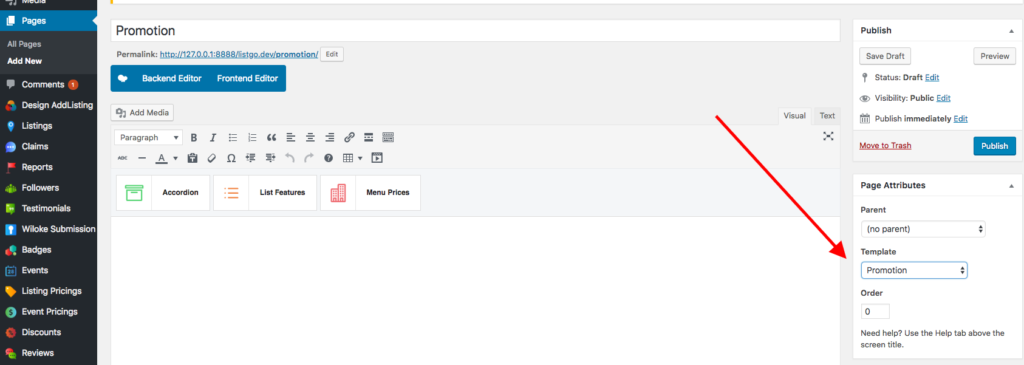
- Click Publish
- Click on Wiloke Submission -> Promotion Settings (Add-on) -> Complete all Settings there -> Click Save Changes
- You can click on View Page at the top menu to view your Promotion page.
Step 3. Showing Promotion on the Front-page
- Sidebar Promotion: Click on Appearance -> Widgets -> Looking for Listgo (Promotion) – List of Promotion Listing to the to a Widget area you want.
- Search page and Taxonomy: The promotion listings will be displayed on the Top of the Search page and Taxonomy automatically
- Under Listing Content: The promotion listings will be displayed under the Single Listing content automatically.
Setting up WooCommerce Promotion Plan
Purchasing Promotion Plan via WooCommerce means the Plan now can understand as a WooCommerce Production. In other words, it’s the same Purchasing Listing Plan via the WooCommerce feature.
To setup this feature, please follow these steps:
- Install and Activate WooCommerce plugin: Plugins -> Add New -> Search for WooCommerce -> Install it
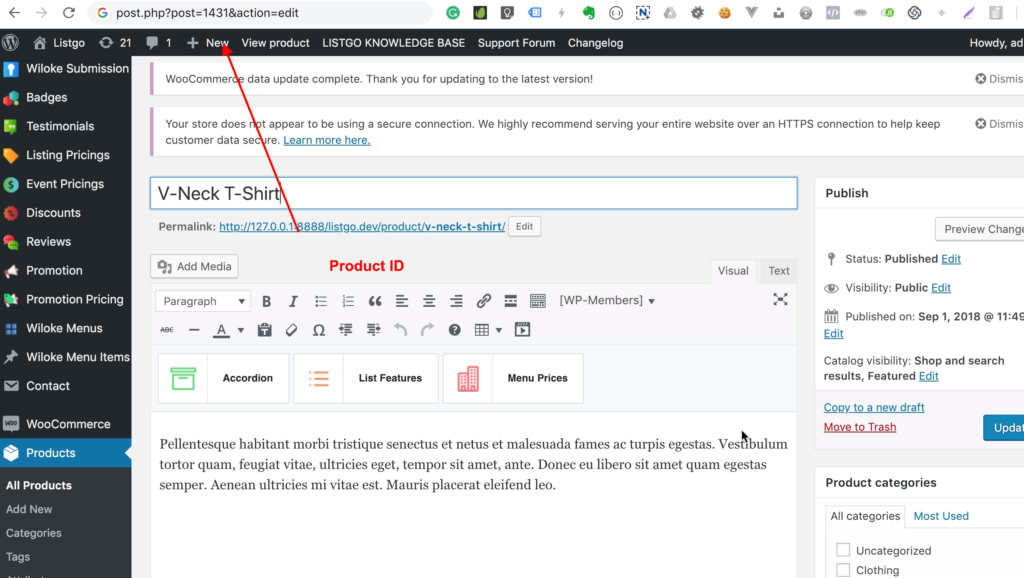
- Click on Products -> Add New -> Add New Product as normal -> Click Publish / Update
- Copy Product ID:
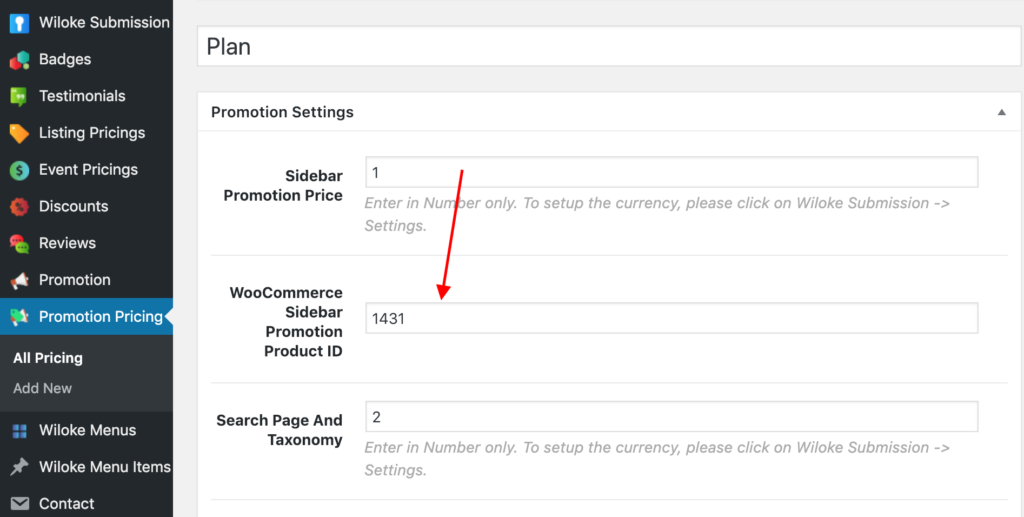
- Click on Promotion Pricings -> Your Pricing (Click Add new if you don’t have any pricing) -> Enter Product ID that you copied at step 3 and paste it to a position you want.
EG: We have Sidebar Position Promotion. You should create a Product called Sidebar Position Promotion Product. Then copy this product id and enter WooCommerce Sidebar Promotion Product ID